CI/CD with Bitbucket Pipelines
Continuous Integration (CI) and Continuous Delivery (CD) are an integral part of a software development cycle. I used to work with GitHub and write CI/CD pipelines as code with Jenkins. But in one of my recent projects, the organisation I worked for decided to move their repositories from GitHub to Bitbucket (with mixed feelings), which made us explore Bitbucket Pipelines for CI/CD. In this blogpost I’ll demonstrate how to create a CI/CD pipeline leveraging BitBucket Pipelines for an Apache Maven based Java project with support for continuous code quality through Sonar Cloud.
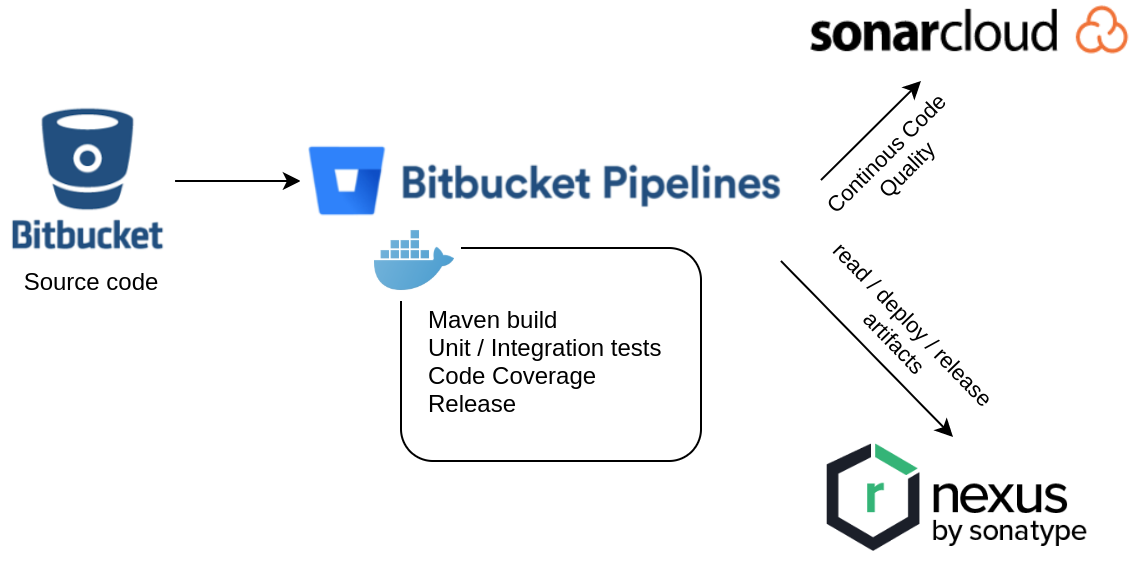
The image below depicts the setup of services being used. The source code for the example in this post is stored in my Bitbucket Cloud Git repository. I’ll use a multi-module Apache Maven project which consists of a core and a service module that contains sample code with unit and integration tests. Changes to the source code will trigger a CI build in Bitbucket Pipelines which runs the Maven build including Unit Tests, Integration Tests and Continuous Code Quality analysis through SonarCloud integration. Finally I’ll show how the Apache Maven Release Plugin can be used to deploy a versioned artifact to a Maven repository like Sonatype Nexus.
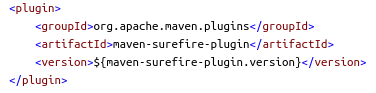
Before we dive into the Bitbucket Pipelines configuration, let’s first examine some important parts of the Maven project configuration. This sample project uses Java 14. In order to run unit tests we’ll need the maven-surefire-plugin:
Integration tests require the maven-failsafe-plugin:

Jacoco is used for Java code coverage analysis and the corresponding jacoco-maven-plugin generates the code coverage reports that can be used by SonarCloud. Make sure to include the report-aggregate goal when you have production code that is covered by tests in separate Maven modules. Otherwise you may wonder why your code coverage is lower than expected…
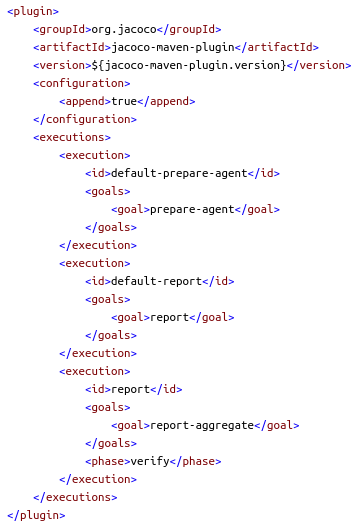
The following Maven property tells SonarCloud where to find the generated Jacoco code coverage file:

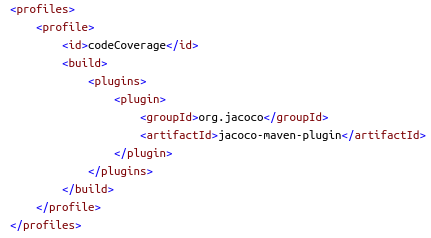
A Maven profile is used to trigger the code coverage analysis, because this can be a time-consuming task and shouldn’t execute by default:
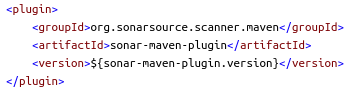
The sonar-maven-plugin is needed in order to perform source code analysis through SonarCloud:
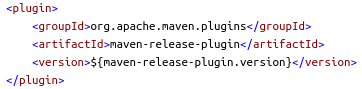
Finally we’ll use the maven-release-plugin to deploy a versioned artifact to a Maven repository. More details are provided in the Maven release process section.
Now let’s find out how to get up and running with building, testing and deploying our code through Bitbucket Pipelines in the Bitbucket Cloud. You’ll need a Bitbucket account which can be created at bitbucket.org. I’ll use my Bitbucket Cloud repository as an example in the rest of this post: bitbucket-ci-example.
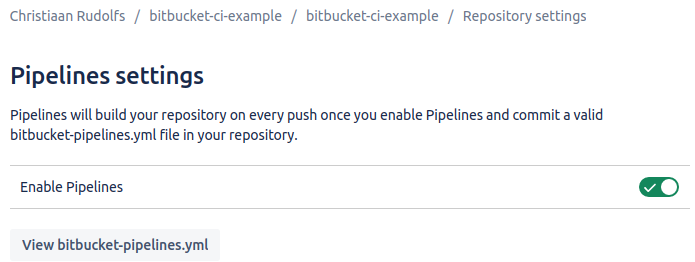
Pipelines must be enabled for your repository. Go to ‘Repository settings’ and enable pipelines in the ‘Pipeline Settings’ section.
The configuration for a Bitbucket Pipelines CI/CD pipeline is described in a bitbucket-pipelines.yml file that should be stored in the root of the repository.
I’ll explain the fragments of my bitbucket-pipelines.yml file. First we need to specify a Docker image that can be used to execute the Maven build and in our case this needs to contain Maven 3.6.3 and Java 14:

We’ll define one pipeline for the master branch and one pipeline that runs on pull-requests initiated from within the repository. The steps for each pipeline are depicted in the image below. Each step in a pipeline defines a build execution unit and runs in a separate Docker container. In this example the same Docker image is used for all steps.

The step definitions can be found in the definitions section of the bitbucket-pipelines.yml configuration file. Let’s examine the pipeline steps for the master branch. In the first step (called build) a maven build including unit/integration tests and code coverage analysis will be executed. Make sure to add maven to the caches section in order to cache external build dependencies in order to speed up your builds. The artifacts section specifies the files that are required for subsequent steps to do their work. In our case we add the jacoco.xml code coverage report file and our project’s Java class files

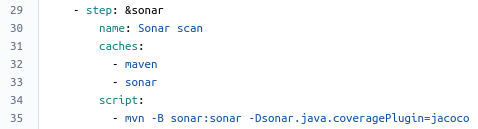
The second step (called sonar) will start a code analysis through SonarCloud. In the SonarCloud integration section we’ll see how easy it is to integrate Bitbucket Pipelines with SonarCloud.
The last step (called release) uses the maven-release-plugin to deploy a Maven release artifact of our code to a Maven repository (e.g. Sonatype Nexus). I’ve specified this step to be triggered manually. The final section of this post provides more details on this.

Now we have covered the most important parts of our Bitbucket Pipelines configuration file. In general I find a bitbucket-pipelines.yml file comprehensible and easy to read.
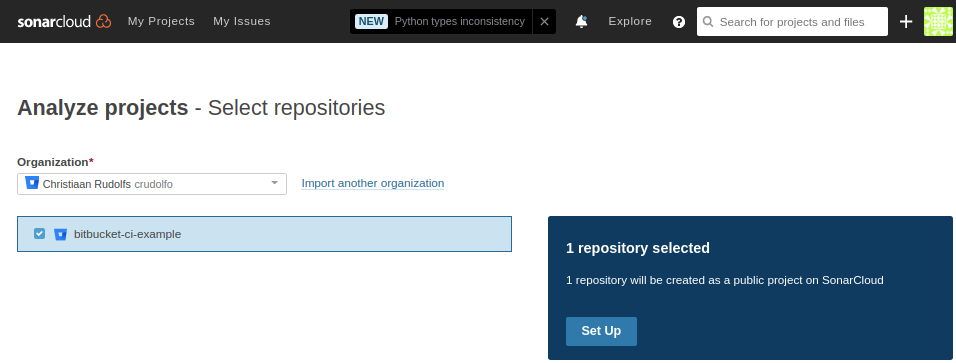
In order to use SonarCloud you need to sign up for an account at sonarcloud.io (which is free for public projects). Now we can create a new project for the bitbucket-ci-example repository in my organization. SonarCloud automatically imports your Bitbucket organizations.
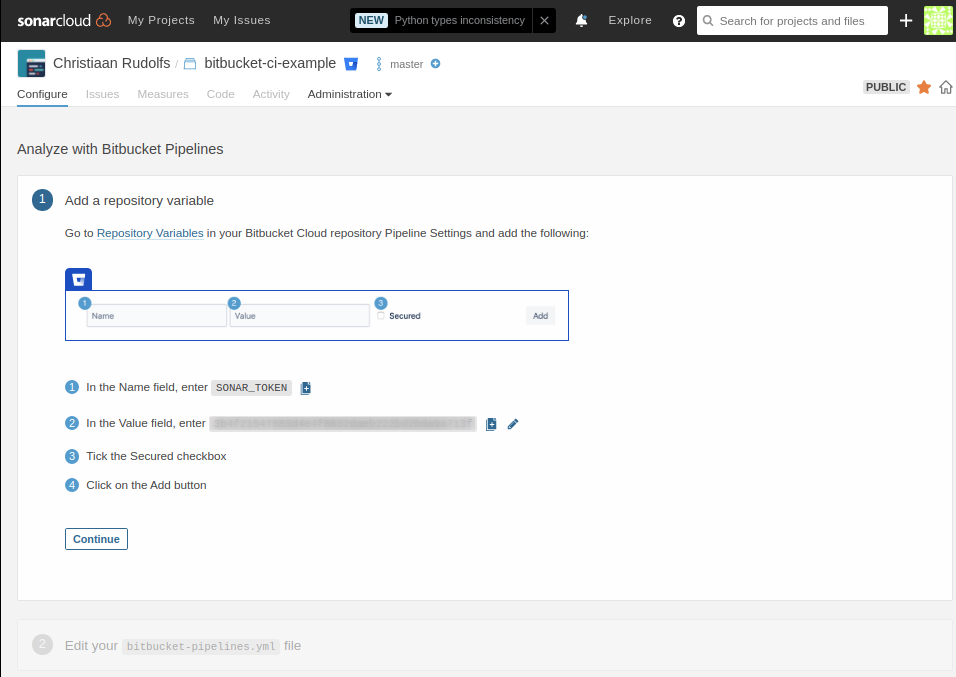
SonarCloud provides you with a wizard that explains how to configure the Bitbucket Pipelines integration. Basically it means that we need to create a SonarCloud security token that should be configured as a Repository Variable in our Bitbucket repository.
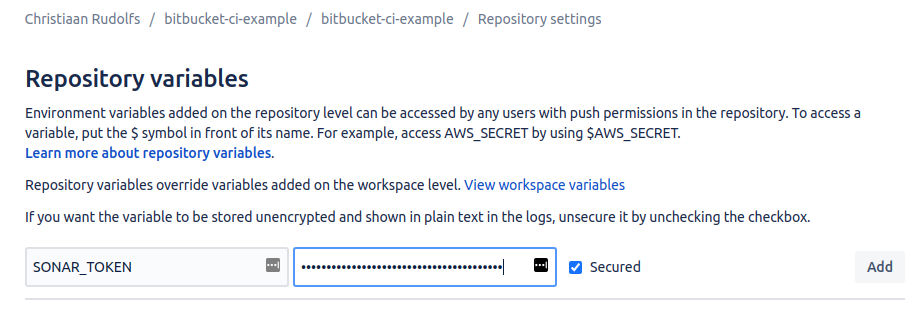
The repository variable is configured in Bitbucket repository settings:
In order to verify the SonarCloud setup we can trigger a SonarCloud analysis locally using Maven as follows (using the SonarCloud security token that was generated previously):
mvn sonar:sonar \
-Dsonar.projectKey=bitbucket-ci-example \
-Dsonar.organization=crudolfo \
-Dsonar.host.url=https://sonarcloud.io \
-Dsonar.login=<<SonarCloud security token>>
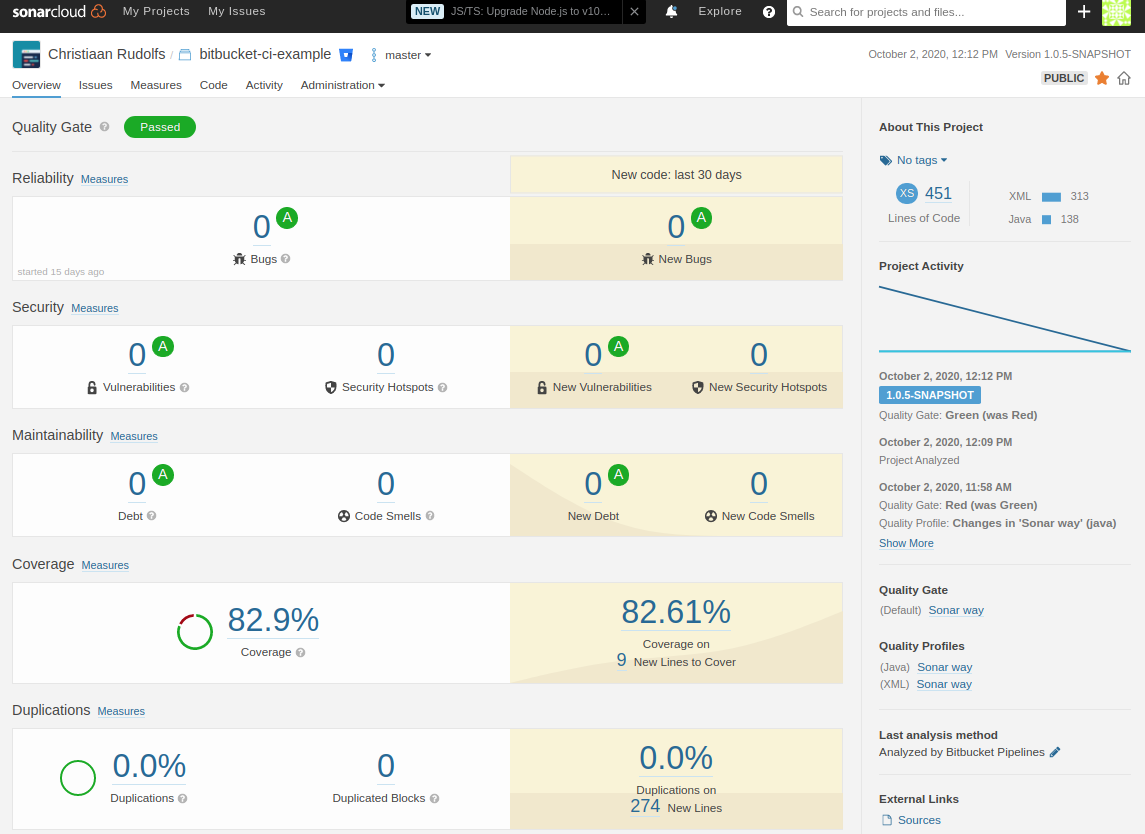
When the analysis is finished the results become visible in Sonarcloud Dashboard:
Now let’s find out how to trigger the build pipeline!
In our bitbucket-pipelines.yml file we’ve specified that a build is triggered for changes pushed to the master branch and to branches for which a pull-request exists. Let’s create a new branch feature-x and update some text in the README.md file. We’ll push the changes and create a new pull-request for this branch:
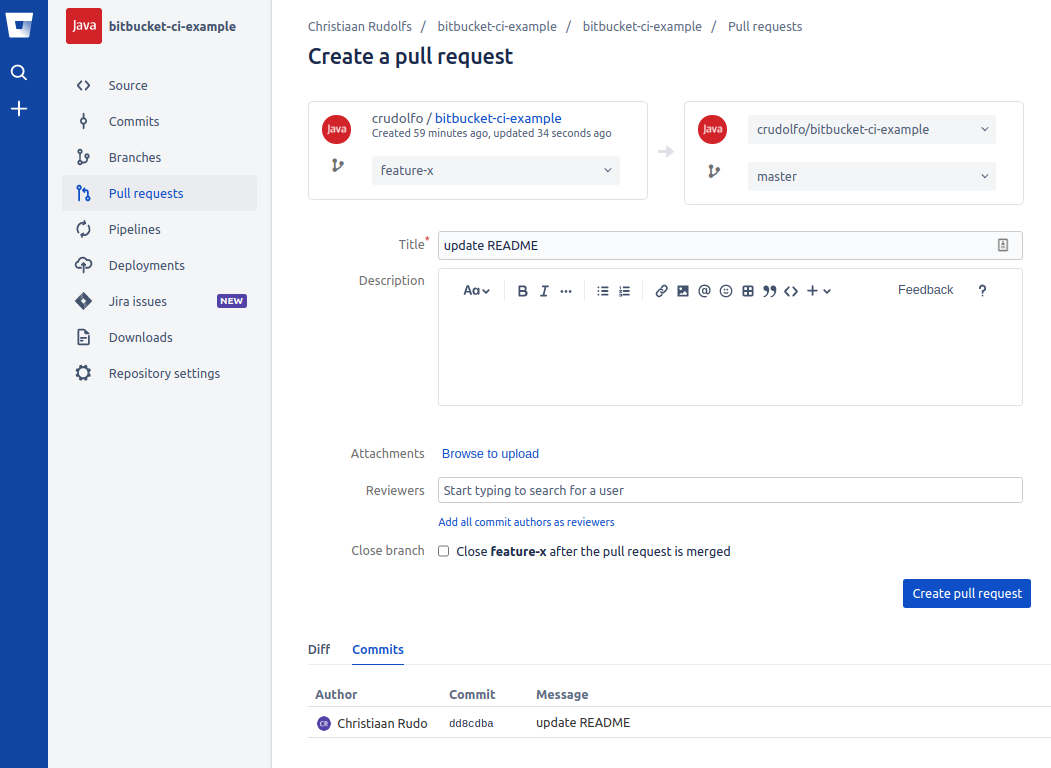
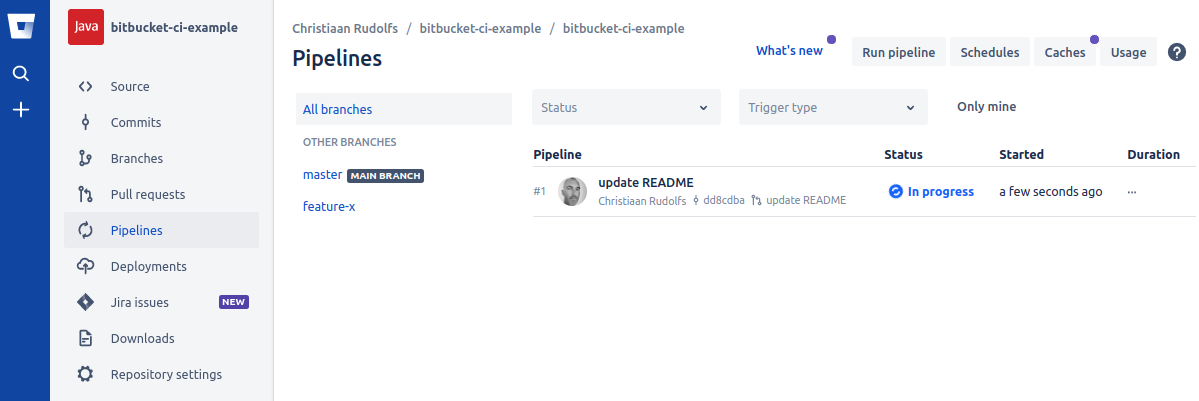
Now when the pull-request has been created and we open the Pipelines section we’ll see that a pipeline build has been started:
The pipeline details page shows the build execution output of each step:
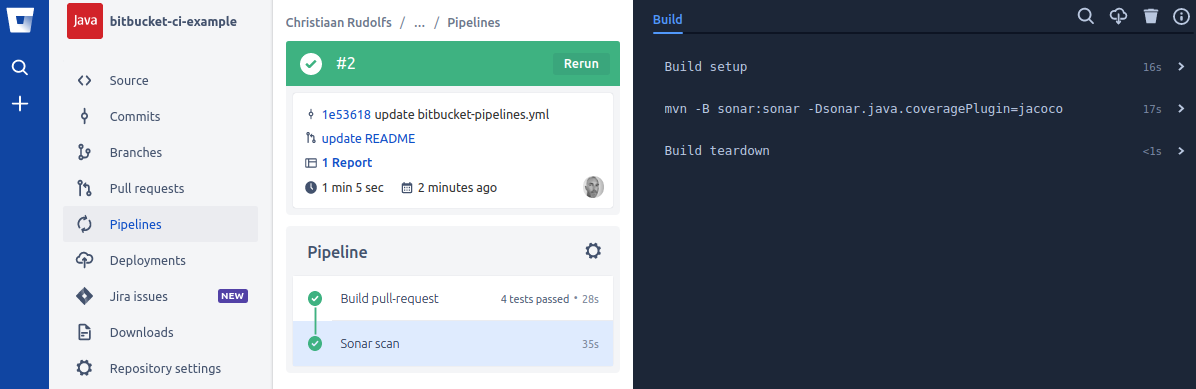
The build-pr and sonar steps were successfully executed and clicking through to the pull-request details page shows us a nice overview of the code quality for this pull-request:

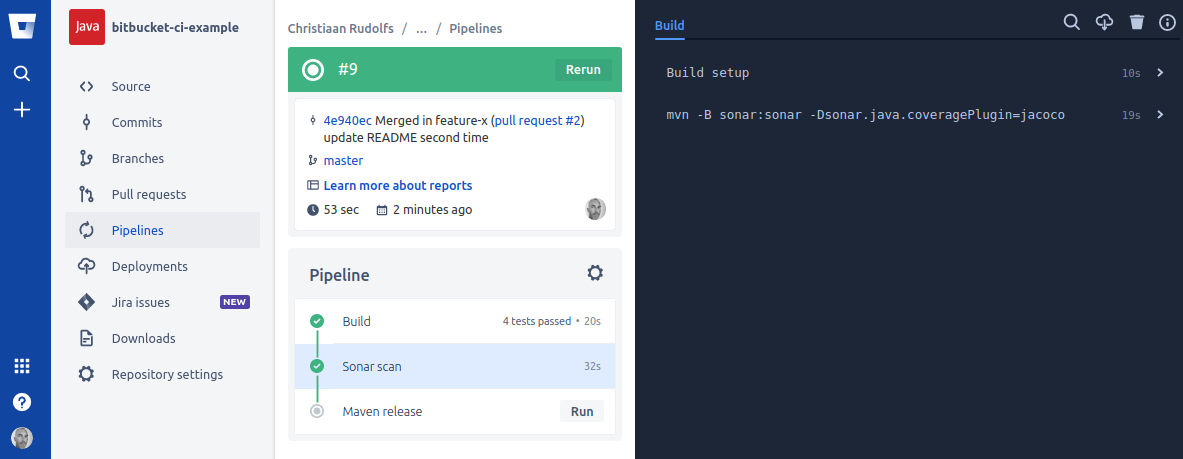
Let’s merge this pull-request which causes the feature-x branch to be merged into the master branch and subsequently triggers the master pipeline build:
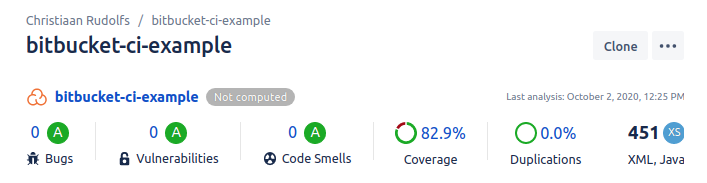
The SonarCloud widget on the source page shows the code quality for the master branch:
Now that the build and sonar steps were successfully executed, we could choose to trigger the Maven release manually. But before we trigger the release, let’s examine how the Maven release process is managed and which additional configuration is required in Bitbucket.
At some point in time software is ready to be released. Let’s suppose that in our example the code should be distributed as a Java ARchive to a Maven repository. All maven artifacts have a version which can be either a snapshot or a release version. A snapshot version means that the artifact is under development whereas a release version is supposed to be stable. Snapshot versions in Maven are appended with -SNAPSHOT.
We’ll use the maven-release-plugin to manage the deployment of Maven artifacts to a Maven repository. This plugin provides two goals: prepare and perform. The prepare step verifies that our Maven project doesn’t depend on any snapshot dependencies. It also updates the version in the pom files to a release number without the -SNAPSHOT suffix and commits and pushes these changes and tags the release in our Git repository. Finally the prepare step increases the current version number to a new development version number with the -SNAPSHOT suffix and commits and pushes these changes. The perform step does a checkout of the previously created release tag and performs the actual Maven deployment.
The maven-release-plugin configuration is specified in the Maven pom:

The scm section of the Maven pom specifies the repository to be used by the maven-release-plugin:

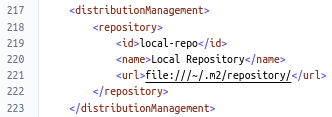
The distributionManagement section specifies the Maven repository where to deploy our Maven artifacts to. In this example we’ll use a local file system instead of e.g. Nexus in order to simplify our CI/CD build setup for this post.
By default the Bitbucket Pipelines doesn’t have the permission to ‘git push’ back to a repository which is required for the maven-release-plugin to do its work. Therefore we’ll create a SSH key pair that is associated with the pipelines for this repository. The SSH key pair can be created in Bitbucket via ‘Repository settings’ -> ‘Pipelines (SSH Keys)’. Important: The public key of the SSH key pair should be copied and added to the SSH keys of your Bitbucket (organizational) account (not the Pipelines settings).
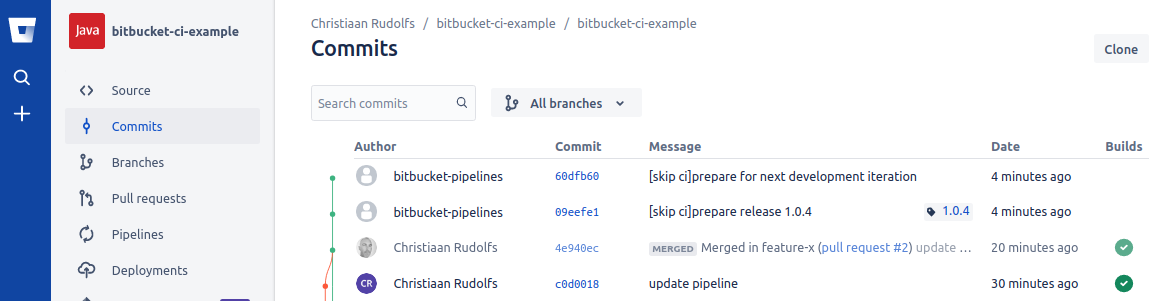
Now is the moment that we can trigger the Maven release step from the pipeline build where we left off in the previous section. When the release step succeeds there will be two additional commits created on the master branch: the first commit is tagged with the released version number and the last commit contains changes to the pom files where the version numbers have been prepared for the next development cycle with updated -SNAPSHOT version numbers:
Bitbucket Pipelines provides an elegant solution for building CI/CD pipelines on Bitbucket Cloud. However it needs to compete with pipeline solutions that provide similar functionality like e.g. Jenkins Pipeline, GitLab, Travis CI, CircleCI and recently GitHub Actions. We’ve experienced the Bitbucket Cloud / Pipelines UI to be slow sometimes, but nevertheless it is possible to create new CI/CD pipelines in quite a short amount of time. Personally I still prefer GitHub as a code (repository) hosting platform for version control and collaboration, but for the CI/CD pipeline creation I liked Bitbucket Pipelines more than Jenkins. To get the best of both worlds, I’d like to explore GitHub Actions in a follow-up post.