Although the focus for Mixed Reality Toolkit 2 now understandably is on Microsoft’s big Mixed Reality business player – HoloLens 2 – it’s still perfectly doable – and viable, IMHO – to develop Windows Mixed Reality apps for WMR immersive headsets. Case in point: most of the downloads I get for my three Mixed Reality apps in the store come from people using immersive headsets – which is actually not that strange as immersive headsets are readily available for individuals whereas HoloLens (either 1 or 2) is not – and they cost 10-15% of an actual HoloLens to boot.
By: Joost van Schaik | Dotnet by Example.
And the fun thing is, if you do this correctly, you can even make apps that run on both – with only minor device specific code. Using MRTK2, though, there are some minor problems to overcome:
I intend to fix all of the above in this article. Once and for all 😉
If you have worked a bit with the MRTK2 before, you know what’s going to follow: cloning profiles, cloning profiles and more cloning profiles. We are going some four levels deep. Don’t shoot the messenger 😉
Assuming you start with a blank Unity app with the MRTK2 imported, first step is of course to clone the Default profile – or whatever profile you wish to start with, by clicking Copy & customize.
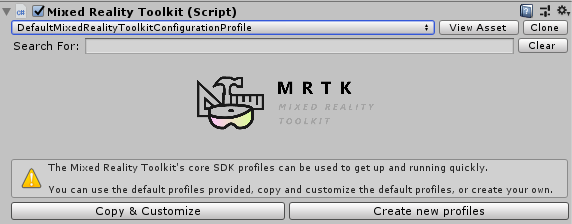
While you are at it, turn off the diagnostics

Next step is to clone the Input System Profile. You might need to drag the inspector a bit wider or you won’t see the Clone button
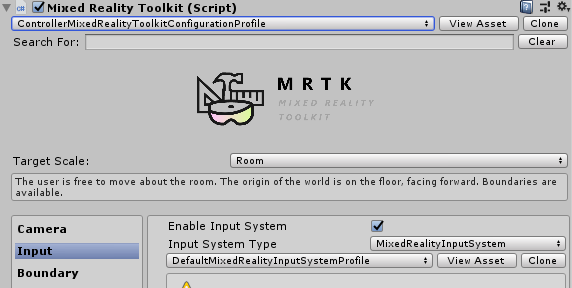
Step 3 is to clone the Controller Mapping Profile:

Expand the “Controller Definitions” section. If you then select Windows Mixed Reality Left Hand Controller, you will notice a lot of events are filled in for the various controls – but also that a couple are not:
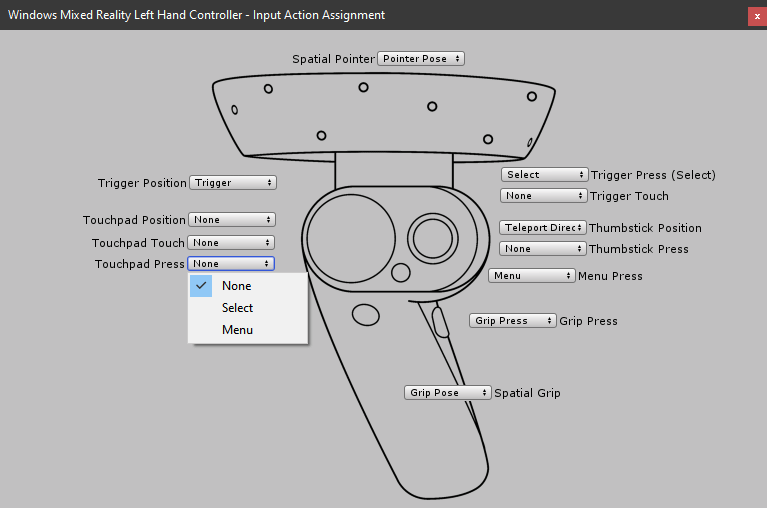
You can select something, but it’s not applicable or already assigned to something else. The missing events are:
So we have to add these events. To achieve this, we have to do one final clone: the Default Input Actions Profile.

And then you simply can add the five missing events (or input actions, as they are called in MRKT2 lingo).
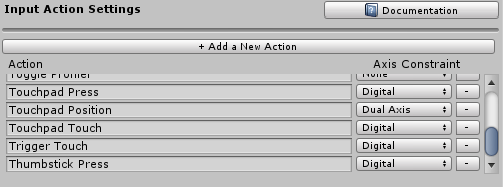
Mind to select “Digital” for all new actions except for Touchpad position. Make that a “Dual Axis”. That last one will be explained later.
Now you can once again go back to Input/Controller/Input Mappings settings, and, assign the proper (new) events to the controller buttons. Don’t forget to do this for both the right and the left hand controller.
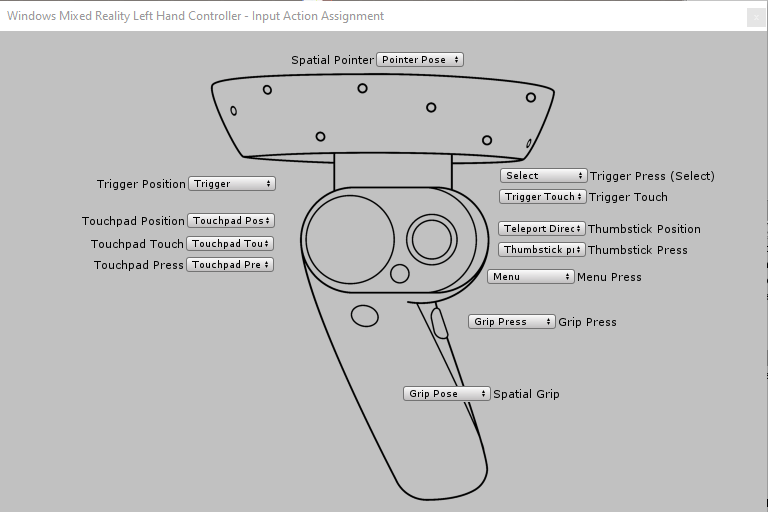
And now finally there are events attached to all the buttons to the controllers. Now it’s time to show how to trap them.
Read the full article here.